-
-
Selecting Fields from the Farmobile DataEngine account will open the Fields page with all of your farms and fields listed and displayed on the map.
-
-
-
For an existing farm, select the ellipse button.
-
In the menu, select 'Add Field'.
-
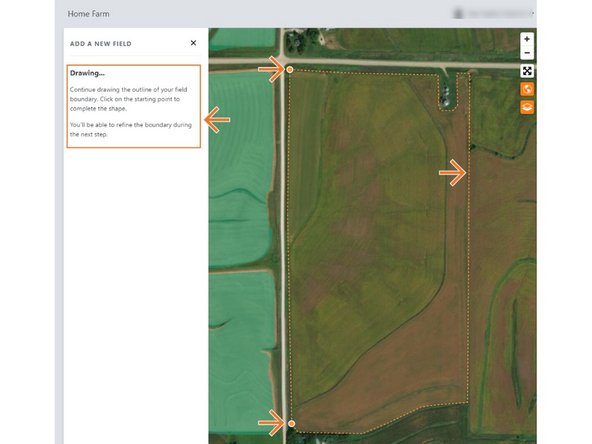
This will open the add new field window so you can begin drawing your boundary.
-
-
-
Navigate on the map to the new field location.
-
Click on the map your stating point to begin drawing the boundary.
-
Click on the starting point or double click the mouse to complete the boundary.
-
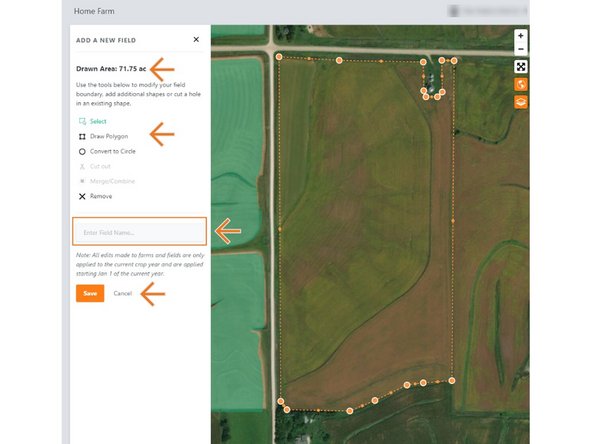
Once the boundary is drawn, the window will update to name and save the field.
-
-
-
Use the edit tools to edit the boundary if needed.
-
The new boundary is not allowed to overlap any other boundaries.
-
Draw an additional boundary and have multiple selected to enable the cut out and merge/combine tools enabled.
-
Enter a field name in the text box.
-
Select 'Save' to save the new field.
-