Introduction
This is the proper installation of the PUC on a John Deere 4000 Series Sprayer.
-
-
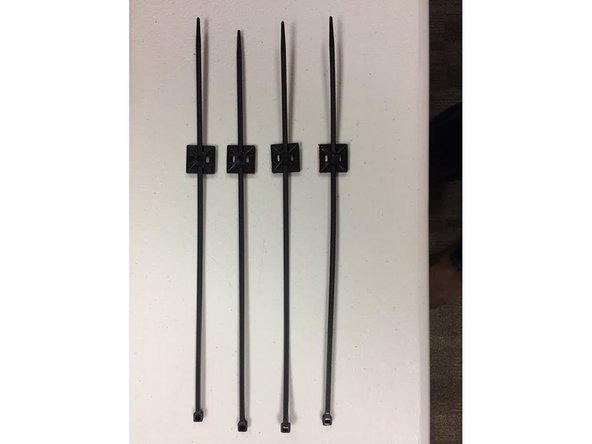
Make sure you have all necessary parts
-
Note: You may have a different diagnostic cable.
-
-
-
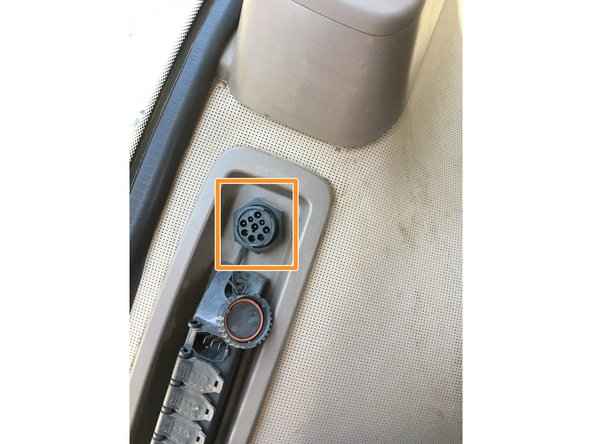
The diagnostic port is located on the right side of the cab.
-
Near the window.
-
-
-
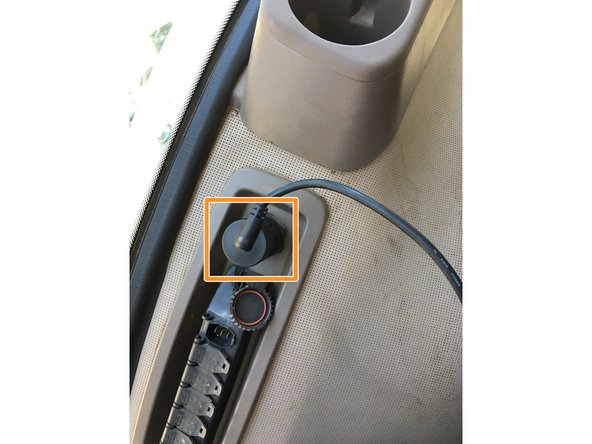
Press cable down into the port.
-
Twist the connector to the left right to secure cable to the port.
-
-
-
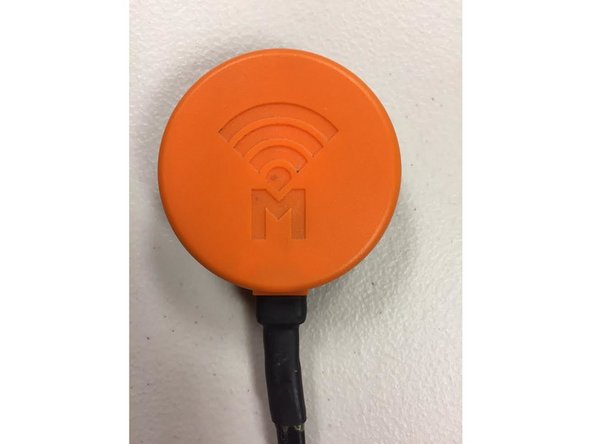
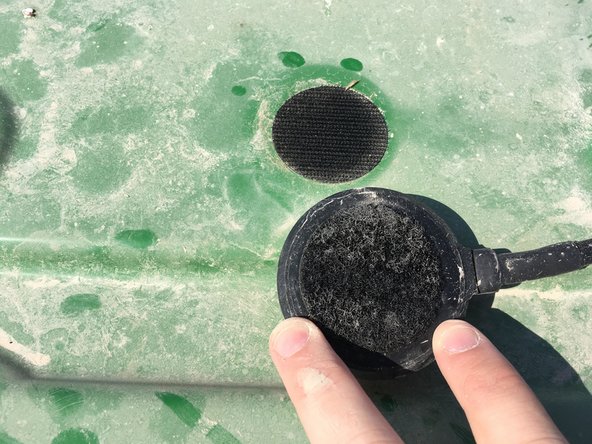
Uncoil Antenna.
-
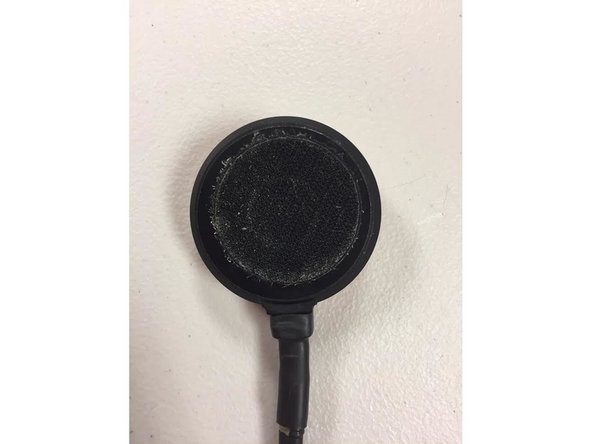
Attach Velcro coin to the back of the antenna.
-
-
-
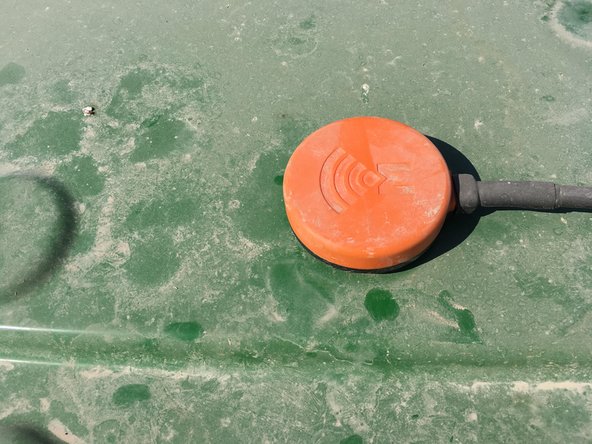
Center and secure the antenna to the cab roof orange side facing up with a clear view of the sky.
-
Keep the Farmobile antenna away from other antennas such as existing GPS antennas & CB radio antennas.
-
A minimum distance of 2 feet is recommended.
-
Maximize the distance between the Farmobile antenna and other GPS antennas.
-
-
-
Use Wet Nap to clean attachment point of debris.
-
-
-
Place opposing side of Velcro on clean spot of cab.
-
Attach antenna to receiving piece of Velcro.
-
Press down firmly on antenna to ensure connection.
-
-
-
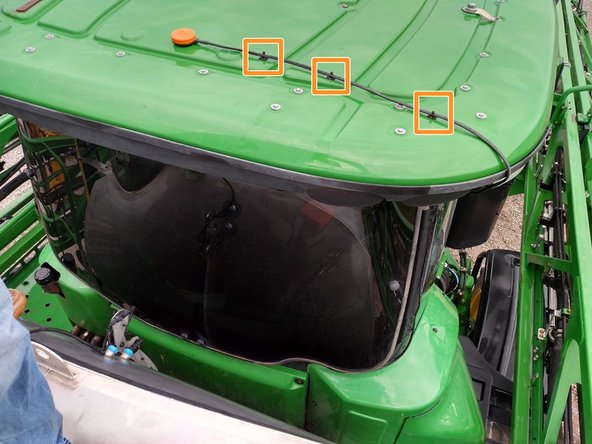
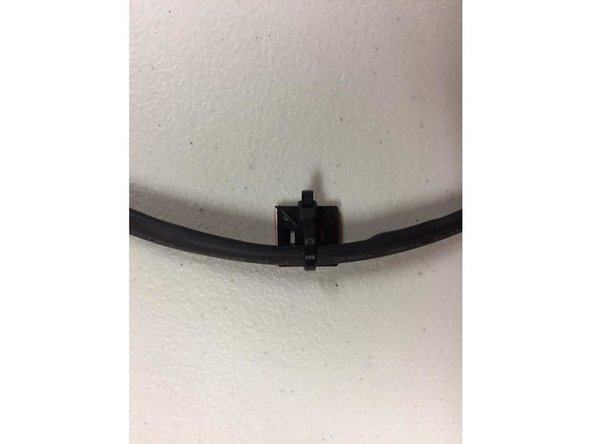
Slide cable ties into mounts.
-
Attach antenna to mounts with ties.
-
Attach mounts to cab.
-
-
-
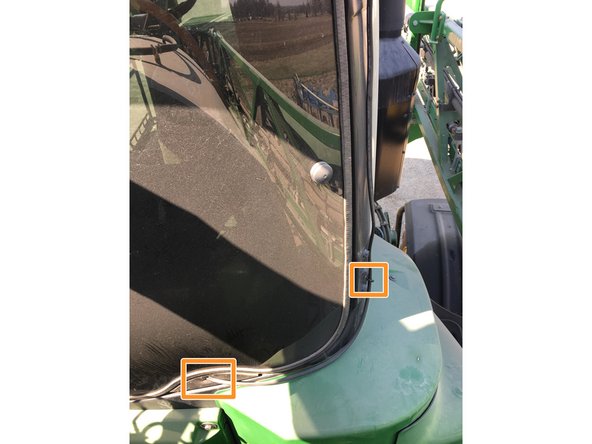
Run the cable along the side of the cab using the anchors.
-
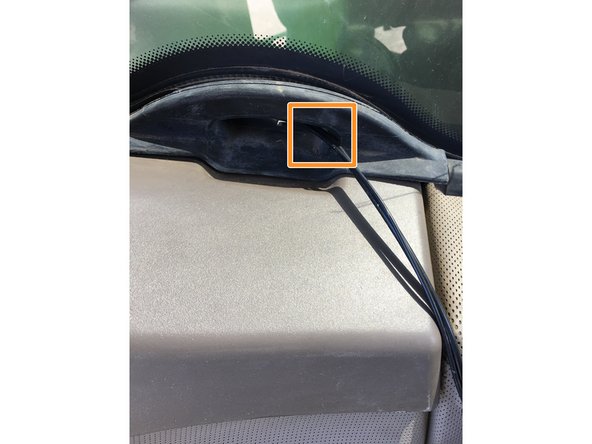
Insert the cable through the notch in the back window of the cab.
-
-
-
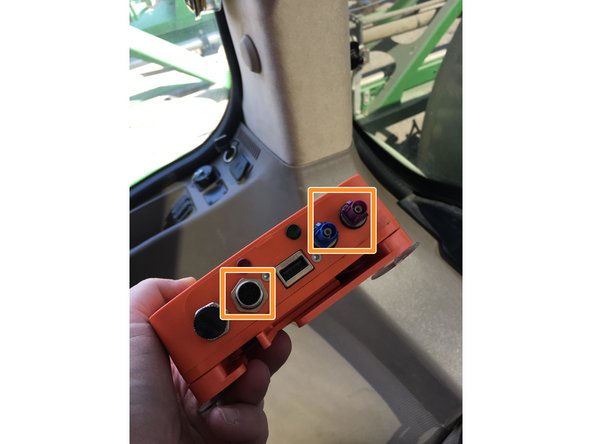
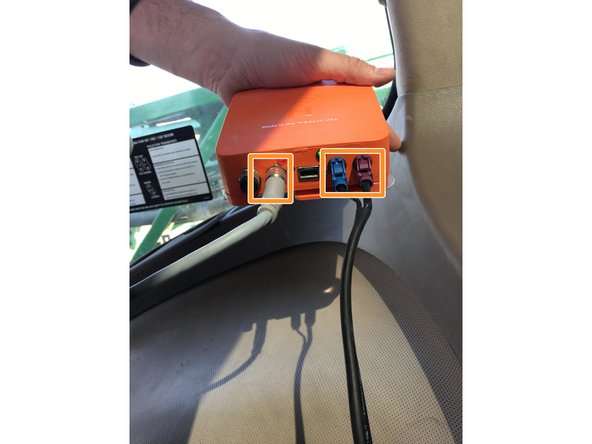
Plug in the diagnostic cable to the open port on the left side of the PUC.
-
Twist connector down to ensure proper connection.
-
Match antenna cable connectors colors with the receiving end on the PUC.
-
Plug connectors into PUC.
-
-
-
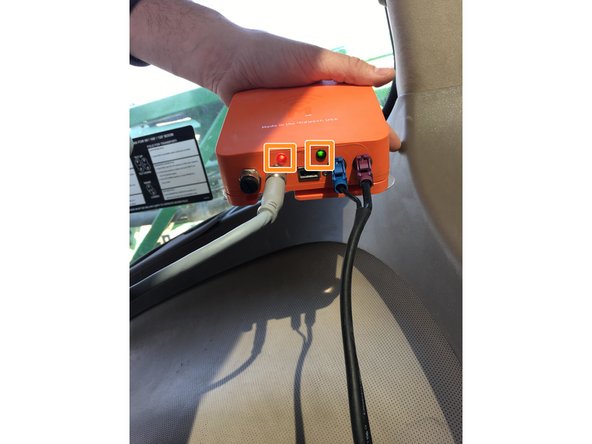
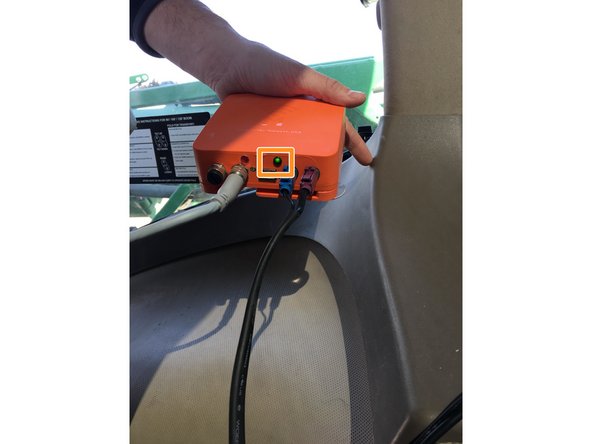
The PUC will light up.
-
Both green and red lights will light up.
-
The PUC will go through its startup procedure.
-
The PUC starts collected data when the green light starts blinking.
-